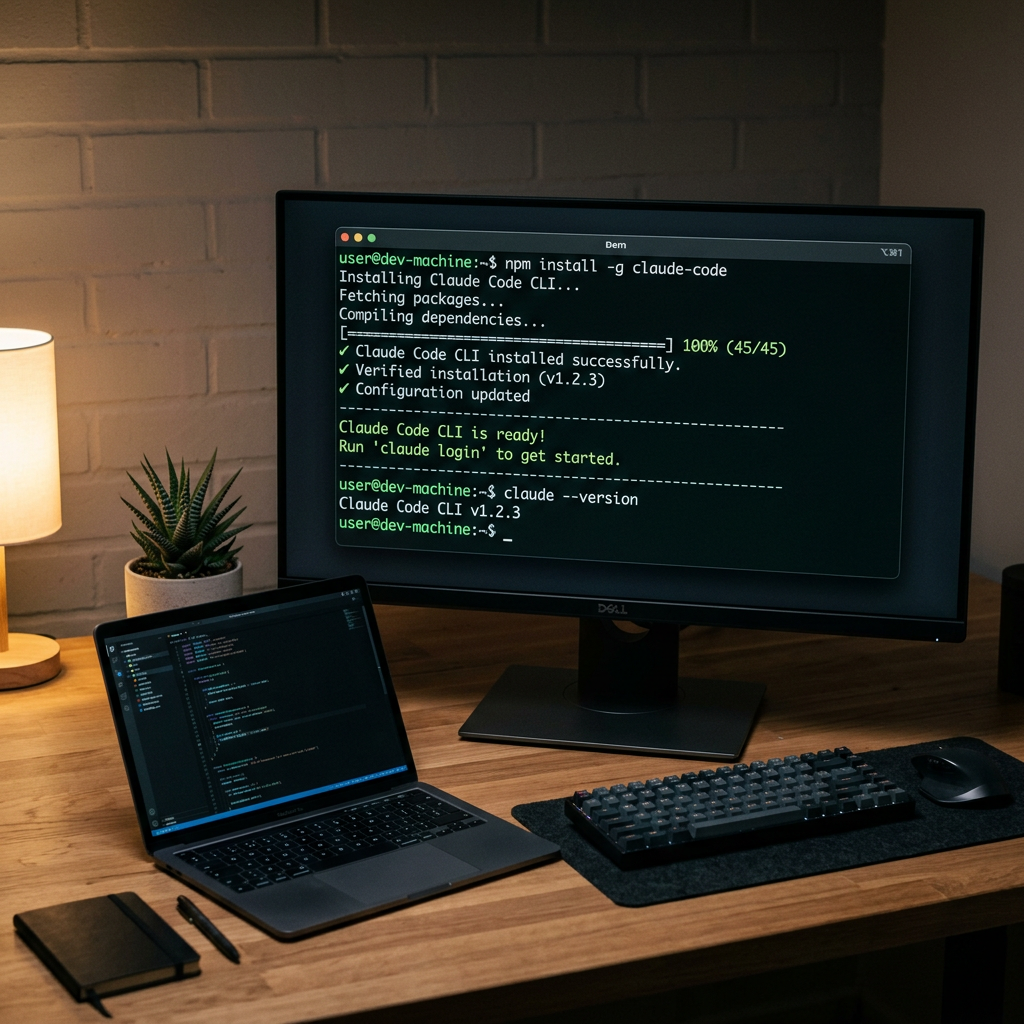
I installed Claude Code expecting a complete AI agent I could use from the terminal. The install itself was easy. The surprise came after: Claude Code could read files, edit code, and run commands — but it still could not search the web, generate assets, store outputs, or publish anything.
That is the gap most Claude Code setup guides miss. Claude Code gives you the agent shell. What it does not give you is the full capability layer required for real-world work. That is where AnyCap comes in — not as an MCP server, but as a stronger agent CLI and capability runtime that gives Claude Code search, media generation, storage, and publishing.
This guide shows how I installed Claude Code on Mac, Linux, and WSL, verified the setup, and then turned it into a real-world agent with AnyCap.
Prerequisites
Before installing, confirm you have:
- Operating system: macOS 13+ (Ventura), Ubuntu 20.04+ / Debian 10+, or Windows 10 (1809+) with WSL
- RAM: 4 GB minimum, 8 GB recommended for larger codebases
- Internet connection: All AI processing runs on Anthropic's cloud infrastructure — no connection, no Claude Code
- Anthropic account: Claude Pro ($20/month), Max ($100–200/month), Teams, Enterprise, or Console (API) account. The free Claude.ai plan does not include Claude Code. See our Claude Code pricing comparison for help choosing a plan.
- Terminal: Bash, Zsh, or PowerShell
- Node.js 18+: Only required for the npm installation method
No GPU required. Your machine runs a lightweight CLI client; all AI computation happens server-side.
Step 1: Install Node.js (npm Method Only)
If you plan to use the native installer — which is now Anthropic's recommended path — skip this step entirely. The native installer has zero dependencies.
For npm users, check your Node version:
node --version
If the output shows v18.0.0 or higher, move to Step 2. Otherwise, install via nvm (Node Version Manager) to avoid permission headaches:
curl -o- https://raw.githubusercontent.com/nvm-sh/nvm/v0.40.1/install.sh | bash
Close and reopen your terminal, then:
nvm install 22
nvm use 22
node --version  # Should show v22.x.x
Node.js 22 is the current LTS release and works cleanly with Claude Code.
Step 2: Install Claude Code
Three installation methods. Pick one.
Option A: Native Installer (Recommended)
Zero dependencies. Auto-updates in the background. This is what Anthropic primarily tests and supports.
macOS and Linux:
curl -fsSL https://claude.ai/install.sh | bash
Windows (PowerShell, run as Administrator):
irm https://claude.ai/install.ps1 | iex
The installer drops the claude binary into your PATH and configures automatic updates. Under a minute, start to finish.
Option B: Homebrew (macOS / Linux)
brew install --cask claude-code
One caveat: Homebrew installations do not auto-update. Run brew upgrade claude-code periodically.
Option C: npm
npm install -g @anthropic-ai/claude-code
Do not use sudo. If you hit EACCES permission errors, the fix is nvm — not running npm as root. Root-owned npm directories create cascading permission problems.
Verify
Confirm the installation worked:
claude --version
For a full environment diagnostic:
claude doctor
Step 3: Authenticate
claude
On first launch, Claude Code opens your browser for OAuth authentication. Sign in to your Anthropic account, authorize the CLI, and you're connected.
Authentication Options
Browser OAuth (default): Best for personal machines. Works with Pro, Max, Teams, and Enterprise accounts. A session token is stored locally after authorization.
API key (CI/CD and headless): For servers, containers, or pipelines where a browser isn't available:
export ANTHROPIC_API_KEY=sk-ant-your-key-here
claude
Generate your key at console.anthropic.com. API usage is billed per token at Anthropic's standard rates. For a full breakdown of subscription vs API billing, see our Claude Code pricing guide.
Which billing model? Subscriptions (Pro/Max) are simpler for daily use and include Claude Code within your monthly plan. API billing gives granular control for variable or automated workloads.
Step 4: Your First Claude Code Session
Navigate to any project directory:
cd ~/my-project
claude
Claude Code reads your project structure and drops you into an interactive REPL. Start with something low-risk:
> Explain the architecture of this project
It scans your files, identifies the stack, and gives you a structural summary. Then try something with real consequences:
> Add input validation to the user registration form
Claude Code identifies the relevant files, proposes changes, and waits for your confirmation. You review each change in a diff view before accepting — it doesn't blindly overwrite files.
For one-off tasks without entering interactive mode, use the -p flag:
claude -p "Write unit tests for the auth module"
Runs the task, outputs the result, exits. Great for scripting and CI/CD pipelines.
Step 5: Configure Claude Code
Model selection
Claude Code defaults to the latest available model. Override it when needed:
claude config set model claude-opus-4-7
Or for a single session:
claude --model claude-sonnet-4-6
Permissions
Claude Code asks for confirmation before writing files or running commands. If you trust it on a given project:
claude config set permissions.auto-accept-edits true
Useful for speed. Less useful on production code.
Project-level settings
Create .claude/settings.json in your project root:
{
  "permissions": {
    "allow": ["read", "write", "shell"],
    "deny": ["shell:rm -rf *"]
  },
  "model": "claude-sonnet-4-6",
  "environment": {
    "NODE_ENV": "development"
  }
}
CLAUDE.md
The single most impactful configuration is still CLAUDE.md. It gives Claude persistent context around build commands, project conventions, and architecture decisions. Run /init inside Claude Code to generate a starting point, then refine it.
Platform-specific instructions
macOS
curl -fsSL https://claude.ai/install.sh | bash
Linux
Same native installer. On older distros, use npm with nvm.
Windows
PowerShell:
irm https://claude.ai/install.ps1 | iex
WSL:
wsl --install
Then in WSL:
curl -fsSL https://claude.ai/install.sh | bash
Docker
FROM node:22-alpine
RUN npm install -g @anthropic-ai/claude-code
CI/CD
- name: AI Code Review
  run: |
    npx @anthropic-ai/claude-code -p "Review this PR for bugs" --output-format json
  env:
    ANTHROPIC_API_KEY: ${{ secrets.ANTHROPIC_API_KEY }}
Beyond Installation: Add the Missing Capability Layer
This is where the install story becomes the real story.
Claude Code is now installed, authenticated, and running. But it is still the shell layer.
Out of the box, it does not give you:
- live web search
- image generation
- video generation
- cloud storage and file sharing
- web publishing
That is why many “Claude Code setup” guides still leave users with a half-finished agent. The coding shell works. The broader capability layer is still missing.
The cleaner mental model
- Claude model = reasoning
- Claude Code = shell and workflow loop
- AnyCap CLI = capability runtime and execution surface
- AnyCap skill = instruction layer that teaches Claude Code how to use the runtime well
This is the important distinction. The product value is not “one more tool.” It is that AnyCap supplies the missing capability layer Claude Code does not ship with.
Install the AnyCap CLI
curl -fsSL https://anycap.ai/install.sh | sh
export PATH="$HOME/.local/bin:$PATH"
Authenticate once
anycap login
Add the skill for Claude Code
npx -y skills add anycap-ai/anycap -a claude-code
Now Claude Code can operate through a stronger agent CLI for:
| Capability | Example |
|---|---|
| Web search | Research live APIs, competitor pages, pricing |
| Image generation | Generate hero visuals, diagrams, mockups |
| Video generation | Produce demos and motion assets |
| Cloud storage | Upload files and share links |
| Publishing | Publish outputs to the web |
That is the point where Claude Code starts feeling like a real-world agent instead of just a terminal-native coding shell.
What about MCP?
MCP still matters. Especially for internal systems, proprietary APIs, databases, and narrow custom integrations.
But MCP is the protocol layer.
The broader capability layer is a different concern. That is why treating AnyCap as “just an MCP server” misses the more useful architectural framing.
Troubleshooting
| Problem | Solution |
|---|---|
command not found: claude |
Open a new terminal or re-run the installer |
| Node.js too old | nvm install 22 && nvm use 22 |
| npm EACCES errors | Use nvm, not sudo |
| Browser auth will not open | Use ANTHROPIC_API_KEY |
| Install network issues | Check proxy and npm registry settings |
| Claude Code feels slow | Check Anthropic status and network latency |
Run claude doctor before manual debugging. It catches most environment issues quickly.
Next Steps
Once Claude Code is installed, do these three things:
- Generate
CLAUDE.mdto give it project memory - Add the capability runtime so it can do more than code-only work
- Run one real workflow that requires research, media, storage, or publishing
That is where the difference shows up.
Claude Code is the shell.
AnyCap is what gives it the missing execution layer.