Learn
Last updated April 10, 2026
How to change a photo background
without losing the original subject
If you are trying to change a photo background, the real job is not only to make the old scene disappear. It is to preserve the same subject while moving it into a new environment that still looks believable. That is where AnyCap image generation plus image understanding gives the agent a stronger workflow than a generic one-click changer.
Answer-first summary
A useful photo-background replacement workflow keeps the subject stable and changes only the environment around it. AnyCap helps the agent run that loop in one place: edit from the source photo, inspect whether the revision still looks like the same asset, and branch into the exact background style the destination needs.
Generated proof
One source photo, one cleaner replacement scene
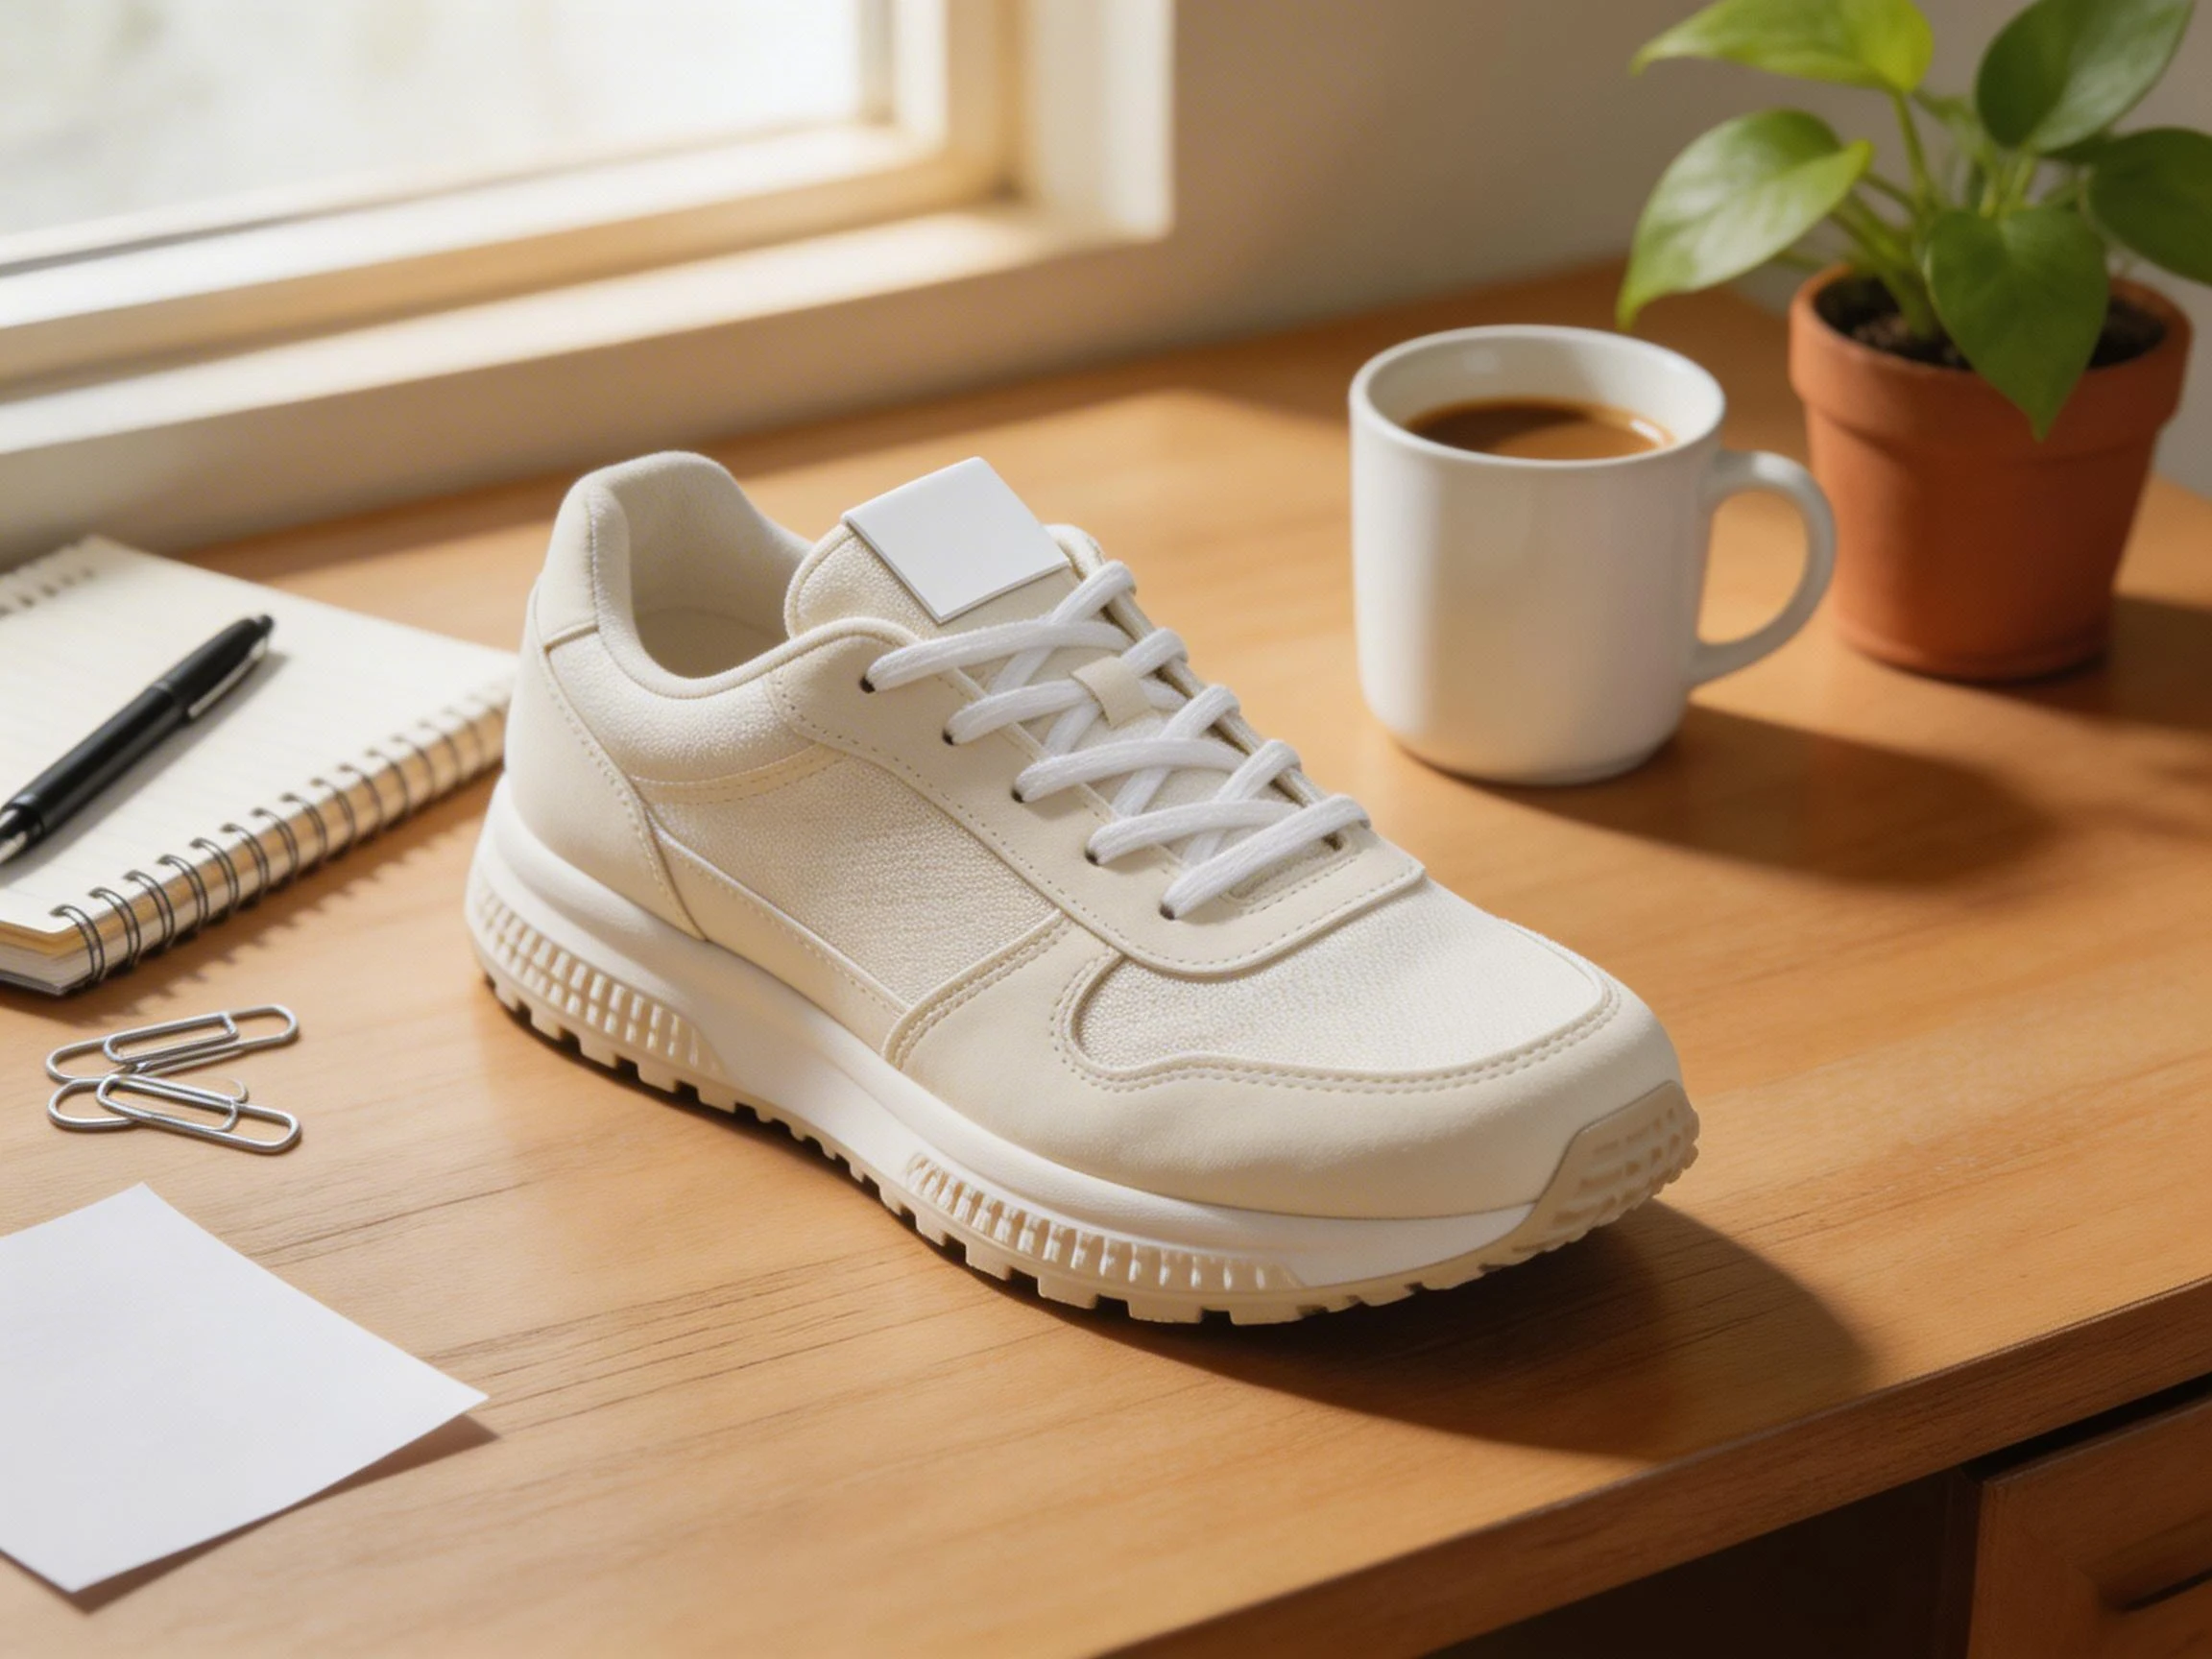
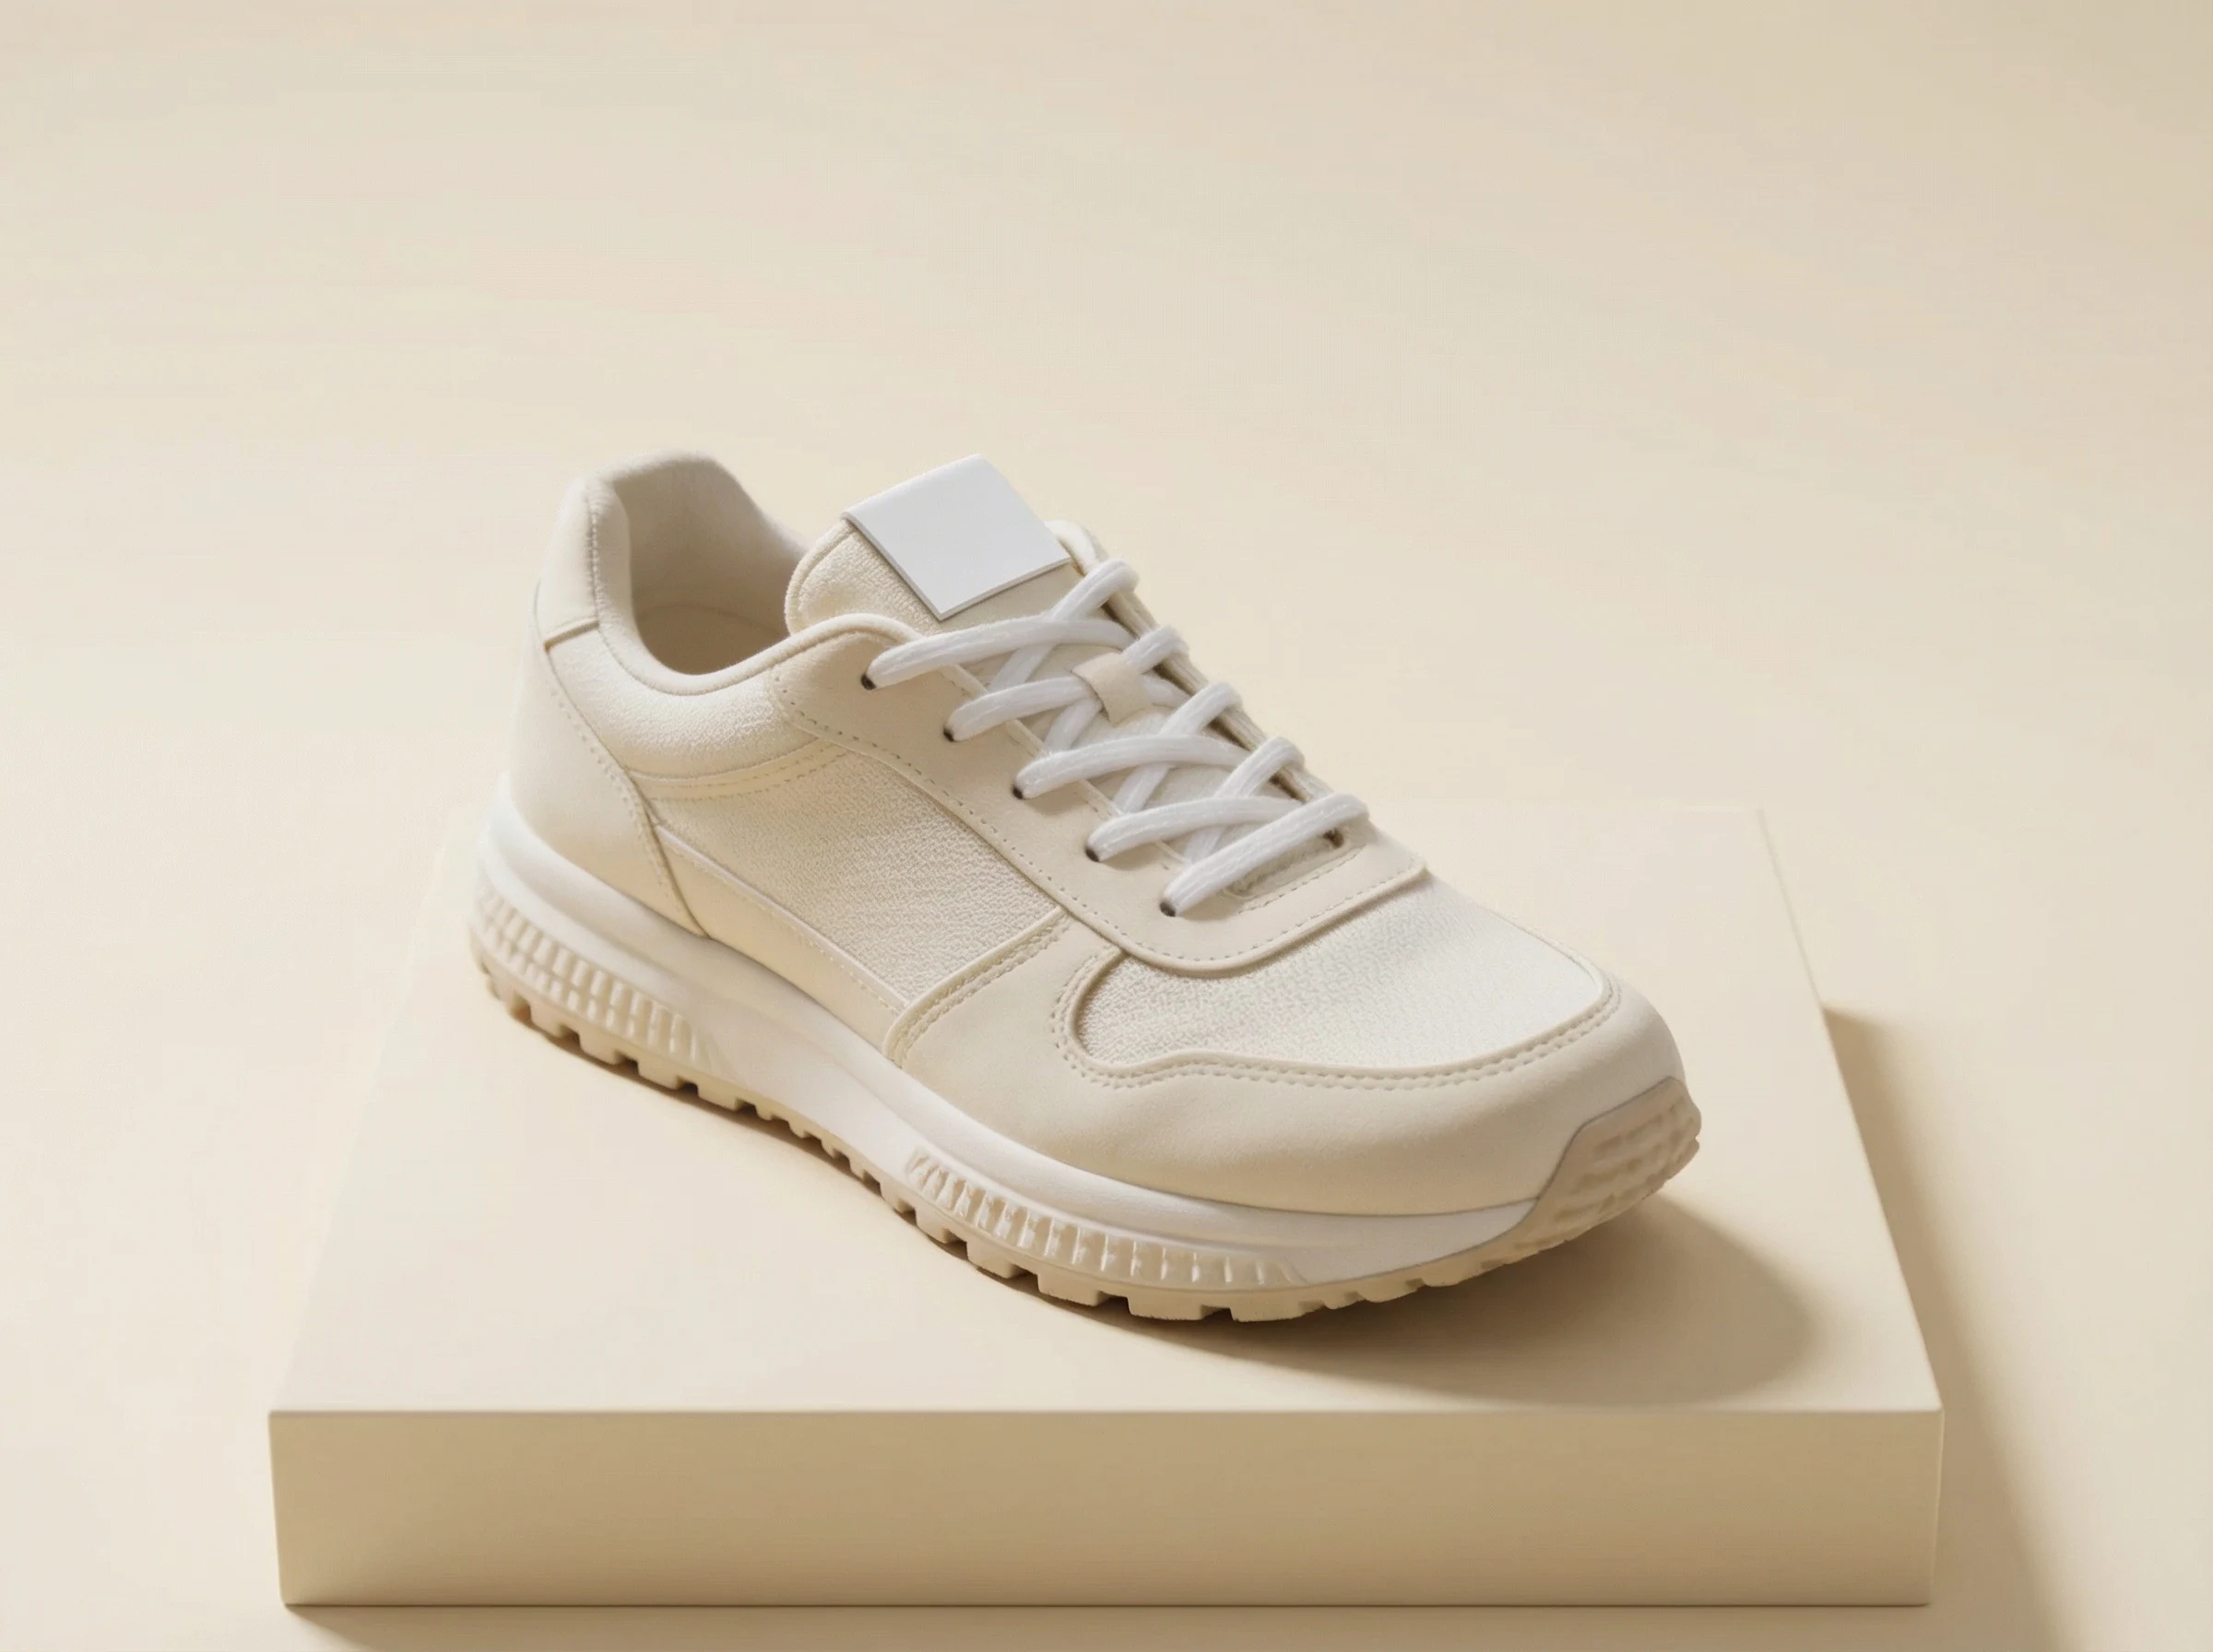
This page uses a real before-and-after proof pair. The left frame is the original desk photo. The right frame is the AnyCap revision that keeps the same shoe but moves it into a cleaner studio setting.
Source image
Background-replaced result
Edit prompt used with AnyCap
preserve the same off-white running shoe, replace the entire desk, notebook, mug, plant, and window scene with a clean warm cream studio backdrop and a minimal low pedestal, keep the shoe realistic and centered, add soft editorial side light and a subtle grounded shadow, premium product photo, no text, no watermark
Why this proof matters
- It makes the page's main promise concrete: the useful job is replacing the environment without drifting away from the source subject.
- The proof pair shows why background replacement is different from simple cutout export or full regeneration.
- It gives the page first-party evidence that the edit workflow can move from a cluttered source photo into a cleaner product-style result.
The left image is the original source photo. The right image is the AnyCap background-replacement revision generated from that same source asset for this page.
Quick answer
Preserve the subject, replace only the environment
Many background changer tools treat the image like a disposable draft. That is not the best fit when the original product, person, or screenshot already matters. The stronger workflow is to keep the same subject and revise the surroundings around it.
- Changing a photo background is strongest when the prompt says what must stay, not only what should be removed.
- The useful workflow is subject preservation plus environment replacement, then a QA pass for lighting, scale, and edge consistency.
- The same source image can branch into a white studio version, a styled pedestal shot, or a more contextual scene depending on where the asset will be used.
White studio
Best for catalog, marketplace, and compliance-heavy photo slots where the background should disappear as a decision.
Pedestal or gradient setup
Best for product pages, docs, and editorial-style content where the image should look cleaner than the raw source but still feel premium.
Context scene
Best when the background should help sell mood, use case, or campaign framing rather than simply getting out of the way.
Workflow
Five steps from cluttered photo to cleaner setting
Step 1
Choose the image that already matters
Start with the photo you actually want to reuse. This workflow is better when the subject is already right and only the surrounding environment needs to change.
Step 2
Specify the target environment clearly
Tell the model whether the destination is a white marketplace photo, a soft studio pedestal, or a more contextual scene. The background target should be concrete.
Step 3
Preserve the subject while replacing the scene
Use image-to-image editing and repeat the subject-preservation constraints. The job is not to redesign the product. It is to change the setting around it.
Step 4
Inspect coherence, not only cleanliness
Check that the scale, shadow, and perspective still feel believable. A clean replacement can still fail if the new environment looks detached from the subject.
Step 5
Branch into the version the channel needs
From the same source, you can create a white-background listing image, a softer studio page visual, or a more expressive campaign direction.
Comparison
Why replacement is not the same as regeneration
What changes
Shallow default
Everything gets regenerated and the product may drift with it.
AnyCap workflow
Only the environment changes while the subject is kept as close to the source as possible.
Output quality
Shallow default
The background is different, but the image no longer feels like the same photo.
AnyCap workflow
The result still reads as the same asset, just placed in a setting that better matches the channel.
Reuse path
Shallow default
You solve one image, then restart from scratch for every new context.
AnyCap workflow
One source image can branch into white, studio, or context-specific variations as needed.
QA standard
Shallow default
The new background looks nicer, so the job seems done.
AnyCap workflow
The agent also checks whether the subject, scale, and lighting still feel coherent after the edit.
Model choice
Pick the model based on whether the source already exists
Best first choice for background replacement
Nano Banana Pro
Use this when the source photo already exists and the main job is to preserve the same subject while changing only the surrounding scene.
Best for faster variant loops
Nano Banana 2
Use this when you want to test several background directions quickly before deciding which visual lane the page or listing should take.
Best when the source photo does not exist yet
Seedream 5
Use this when you still need a stronger first-pass product image before any background replacement or cleanup begins.
First-hand validation
What we checked on the live workflow
Capability surface confirmed
During page production on April 9, 2026, a live AnyCap status check confirmed image generation, image editing, image reading, Drive, Page, and web retrieval were available in the current environment.
Schema confirmed
The current image-to-image schema for Nano Banana Pro was checked live and uses the `images` parameter for source assets.
Proof pair generated
The before-and-after proof on this page was generated through AnyCap from the same source asset instead of being assembled from unrelated images.
Replacement QA checked
Image reading was used to confirm the studio-background replacement still preserved the same shoe and did not introduce visible text or watermark artifacts.
CLI examples
Example commands for replacement workflows
Replace the background with a warm studio setup
anycap image generate \
  --model nano-banana-pro \
  --mode image-to-image \
  --prompt "preserve the same subject, replace the desk and room with a warm cream studio backdrop and a simple pedestal, keep realistic lighting and grounded shadow, no text, no watermark" \
  --param images=./source-photo.png \
  --param aspect_ratio=4:3 \
  --param resolution=2k \
  -o studio-background-replacement.png
Branch into a white-background version
anycap image generate \
  --model nano-banana-pro \
  --mode image-to-image \
  --prompt "preserve the same subject, replace the environment with a clean white studio background, centered marketplace-ready product photo, no text, no watermark" \
  --param images=./source-photo.png \
  --param aspect_ratio=4:3 \
  --param resolution=2k \
  -o white-background-version.png
QA the replacement result
anycap actions image-read \
  --file ./studio-background-replacement.png \
  --instruction "Describe the image, confirm whether the same subject is preserved, and mention any visible text, watermark, or awkward background mismatch."
FAQ
Questions that usually come next
Is changing a photo background the same as making it transparent?
No. A transparent version removes the environment so you can place the subject elsewhere later. A background-replaced version already chooses the new environment, such as a white studio, a pedestal setup, or a scene that better matches the page or listing.
When should I use a white background instead of a styled replacement?
Use white when the destination is marketplace, catalog, or compliance-driven. Use a styled replacement when the image needs to feel more editorial, product-led, or context-aware on a landing page, doc, or content asset.
Which AnyCap model should I use first for background replacement?
Use Nano Banana Pro first when you already have the source image and the job is to preserve the subject while replacing only the environment. Use Nano Banana 2 when you want faster iteration across several background directions. Use Seedream 5 when you still need the original product image before editing begins.
Can AnyCap help inspect whether the replacement still looks believable?
Yes. After generation, you can use AnyCap image reading to check whether the same subject identity is preserved, whether the new setting feels coherent, and whether there is any visible text, watermark, or prompt drift.
Next move
Move into the workflow that fits the destination
How to Make an Image Transparent
Start here when the background should be removed first instead of replaced immediately.
Image Generation
See the exact AnyCap image surface that powers background replacement and other image-to-image workflows.
Nano Banana Pro
Go deeper on the model that currently fits the strongest subject-preserving revision loop.
Install AnyCap
Move here when you want the shortest path from this page to a working CLI setup.